> For the complete documentation index, see [llms.txt](https://themedocs.zenit.design/llms.txt). Markdown versions of documentation pages are available by appending `.md` to page URLs; this page is available as [Markdown](https://themedocs.zenit.design/en/settings/custom-field-assignment/custom-fields-for-product-details.md).
# Custom fields for product details
> from theme version 4.8.0
{% hint style="success" %}
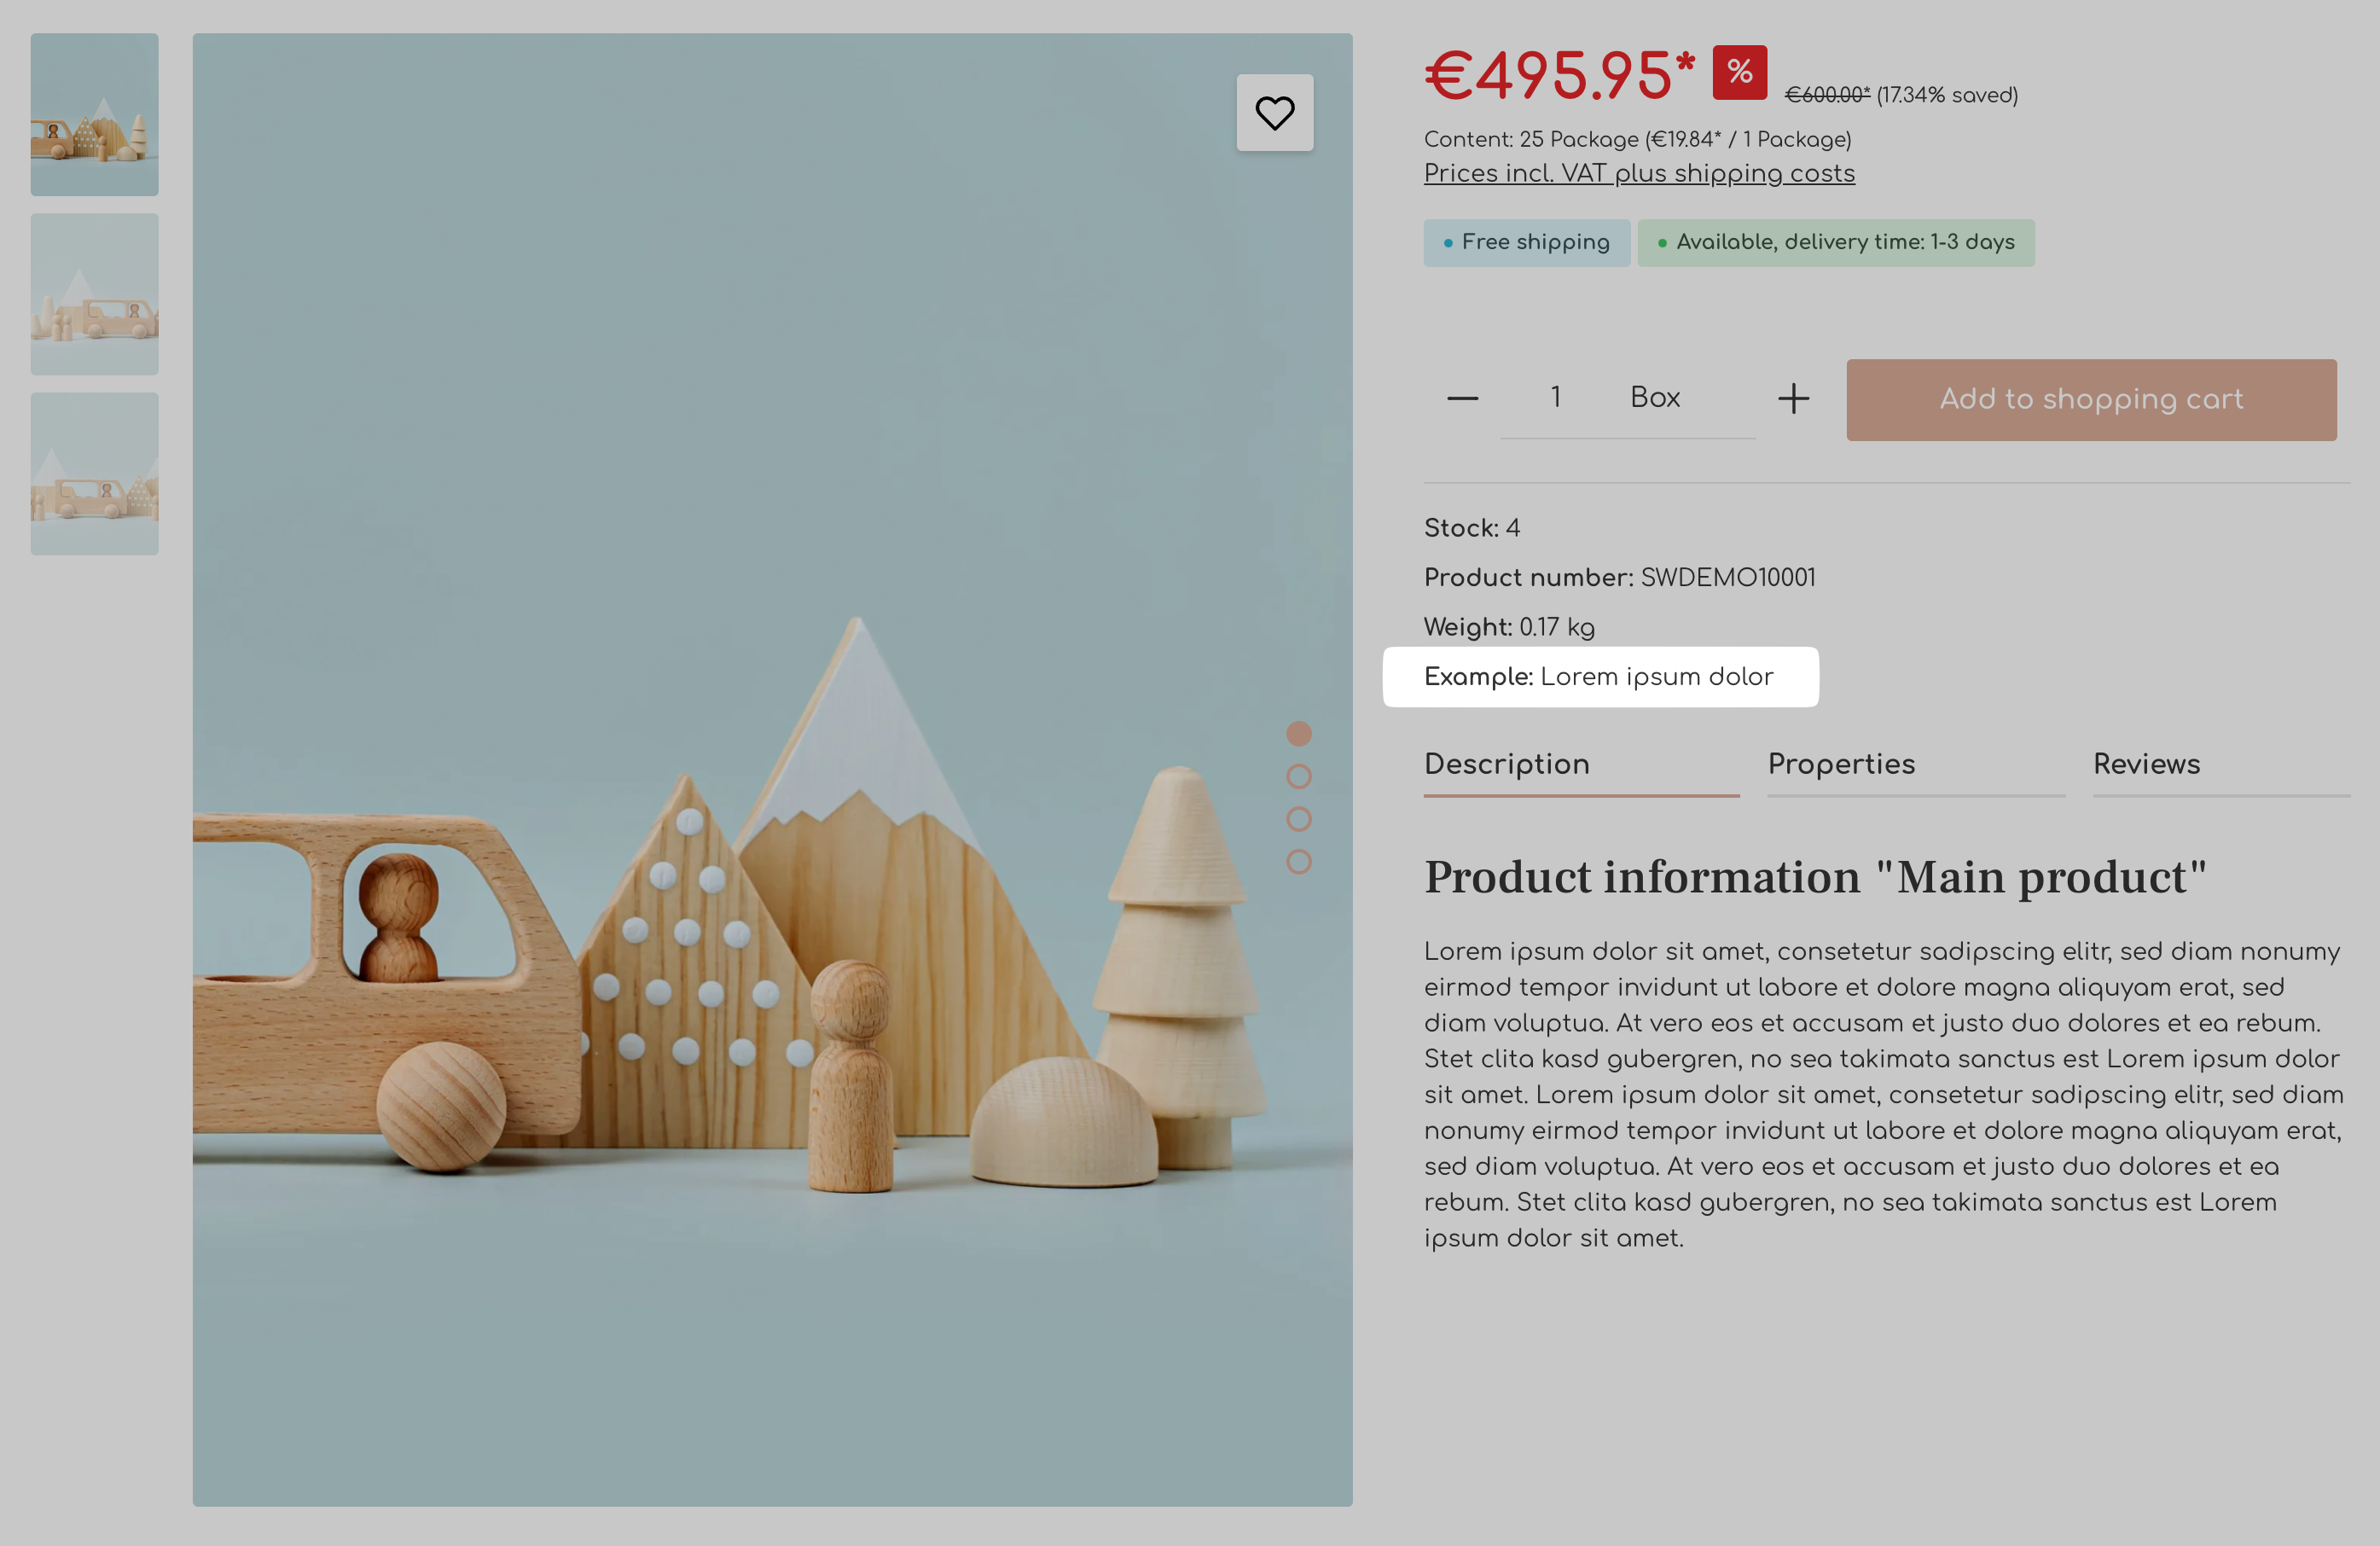
Custom fields can be displayed in the buy box on the product page - **without any template adjustment.**
{% endhint %}
{% stepper %}
{% step %}
### Create custom field
You can create any custom field via *Settings > System > Custom fields*.
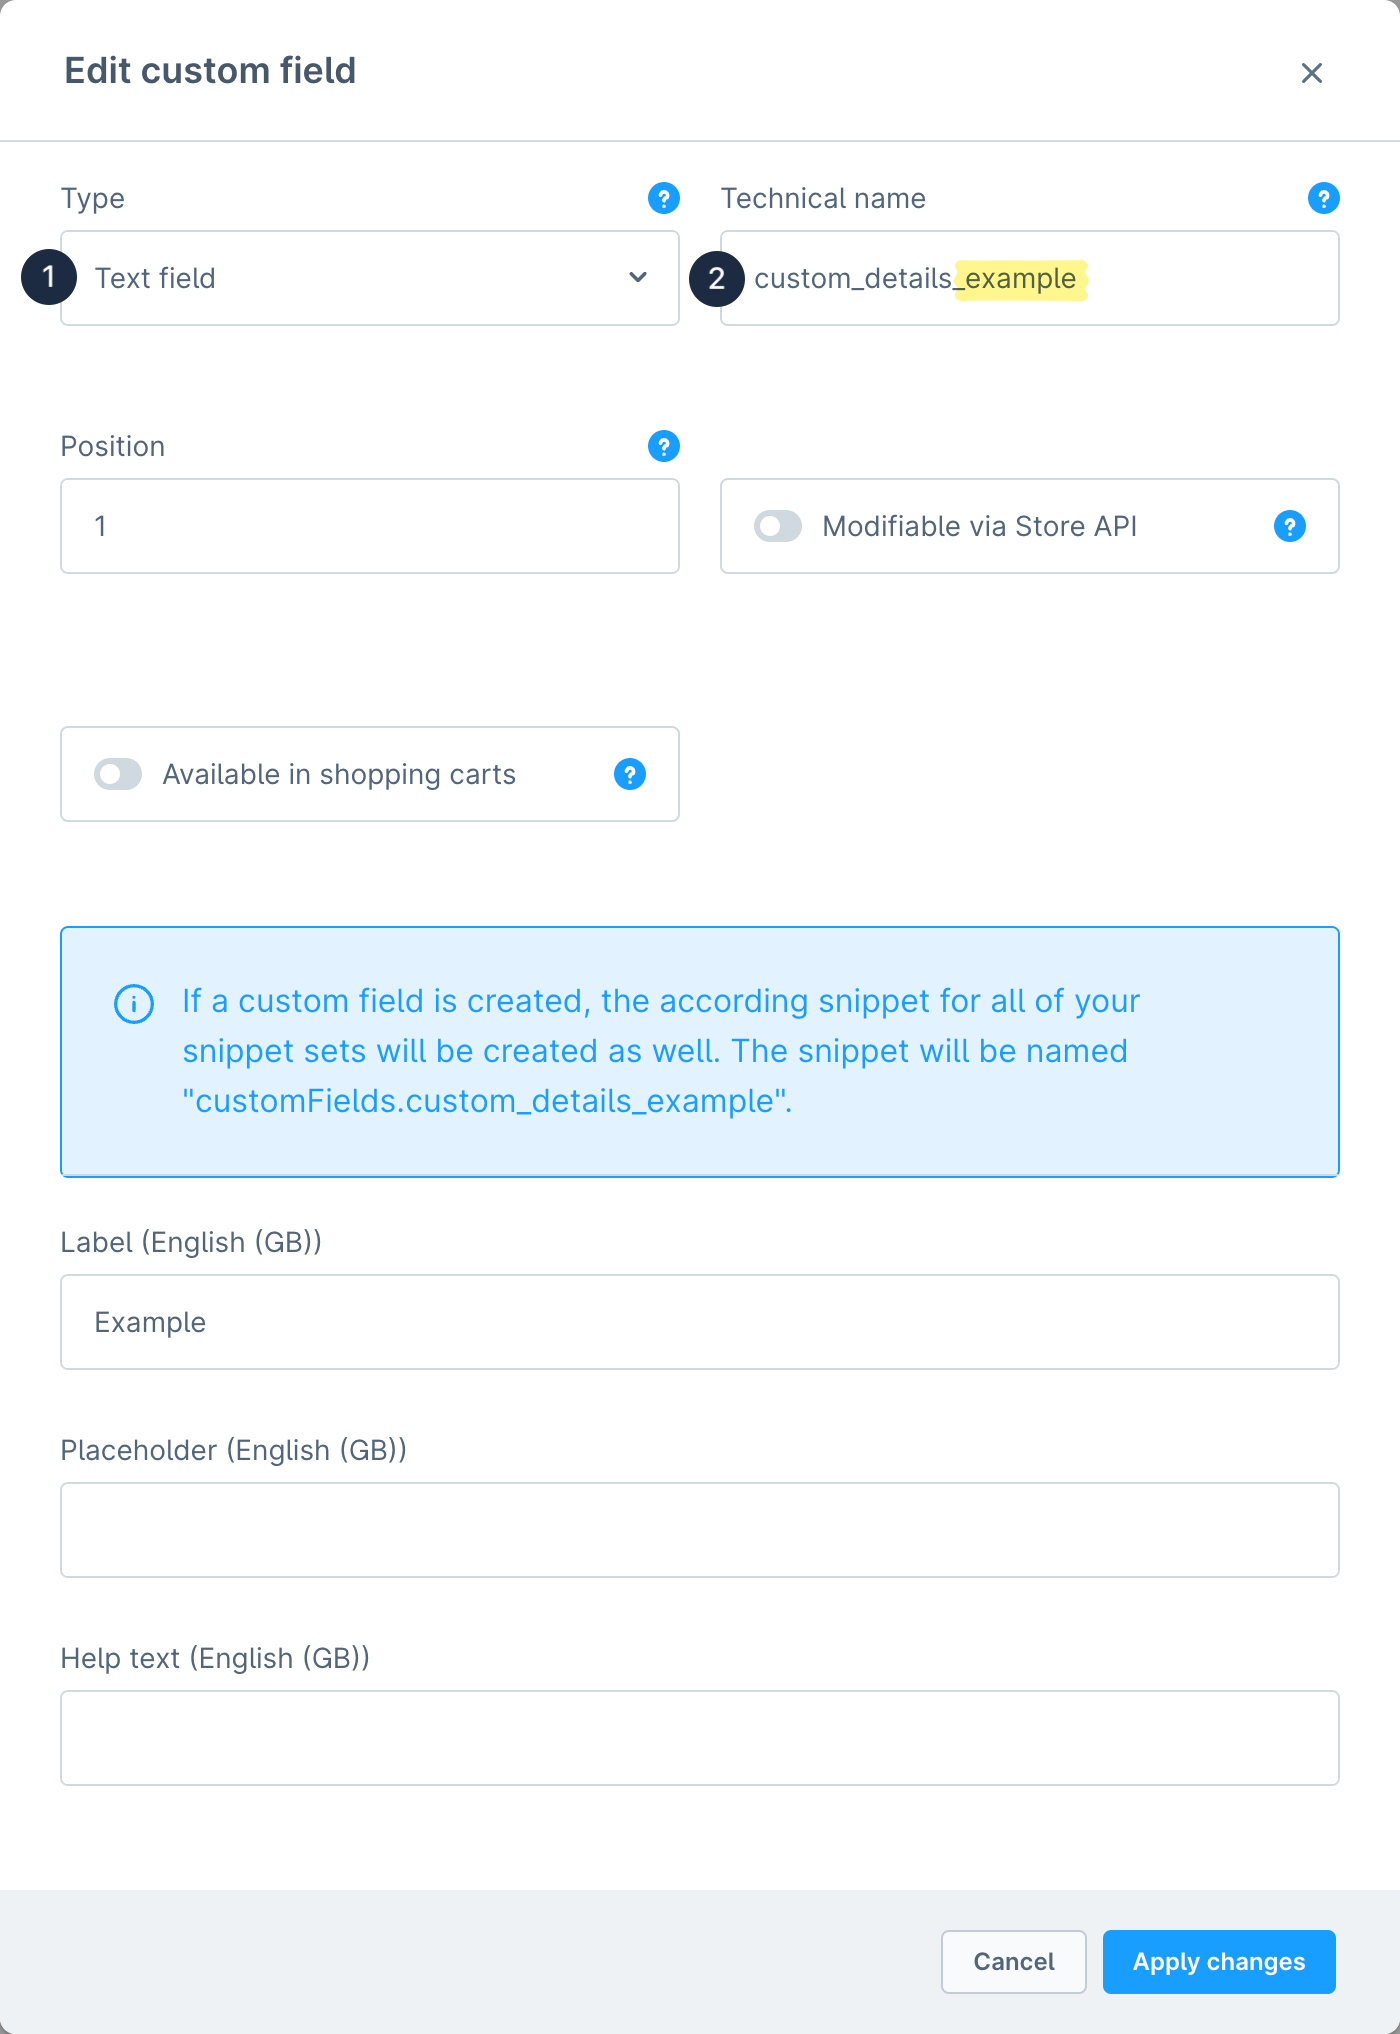
**Select or create set:** To do this, either select the existing `Custom content (THEME NAME)` set or create your own set. When creating a new set, make sure to assign to products.
**Create custom field:** In the desired set, create a new field of **type (1)** `Text field` using **New custom field**. You can find further information on [creating custom fields](https://docs.shopware.com/en/shopware-6-en/settings/custom-fields#text-field) in the Shopware documentation.
In our example we call the custom field `custom_details_example`.
{% endstep %}
{% step %}
### Set label via snippets
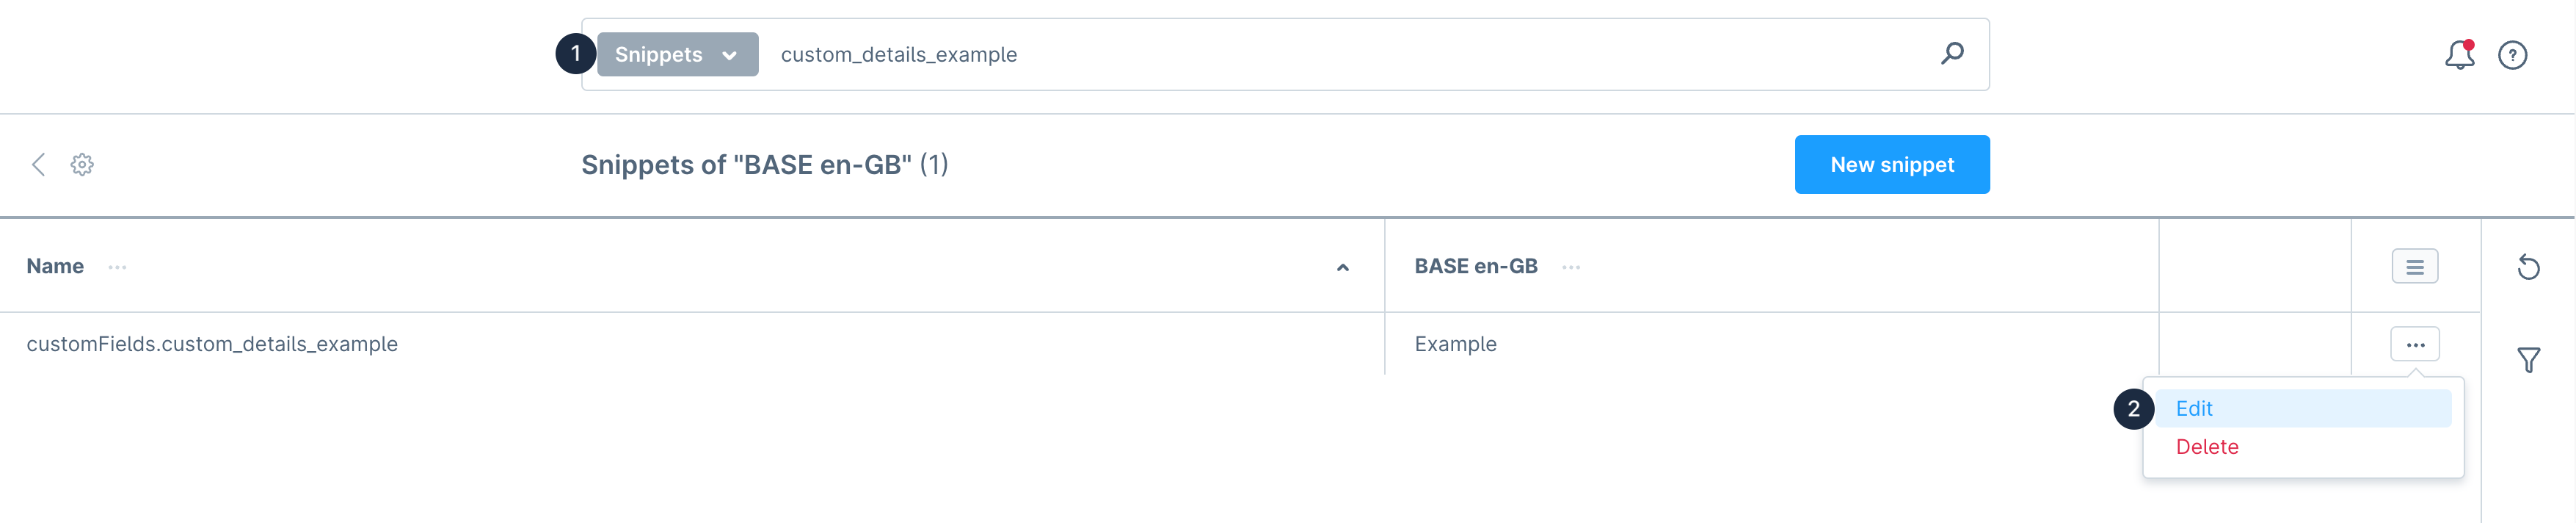
As already noted in the blue information message from step 1, after creating the custom field, you have a snippet available that can be output as a label in the storefront. You can **search (1)** for the technical name of your custom field via *Settings > Shop > Text blocks > \[Select text block set]*. Click **Edit (2)** in the context menu and enter the name in all available languages.
{% hint style="info" %}
Be sure to include a **colon** in the label to keep the presentation consistent.
{% endhint %}
{% endstep %}
{% step %}
### Assign custom field
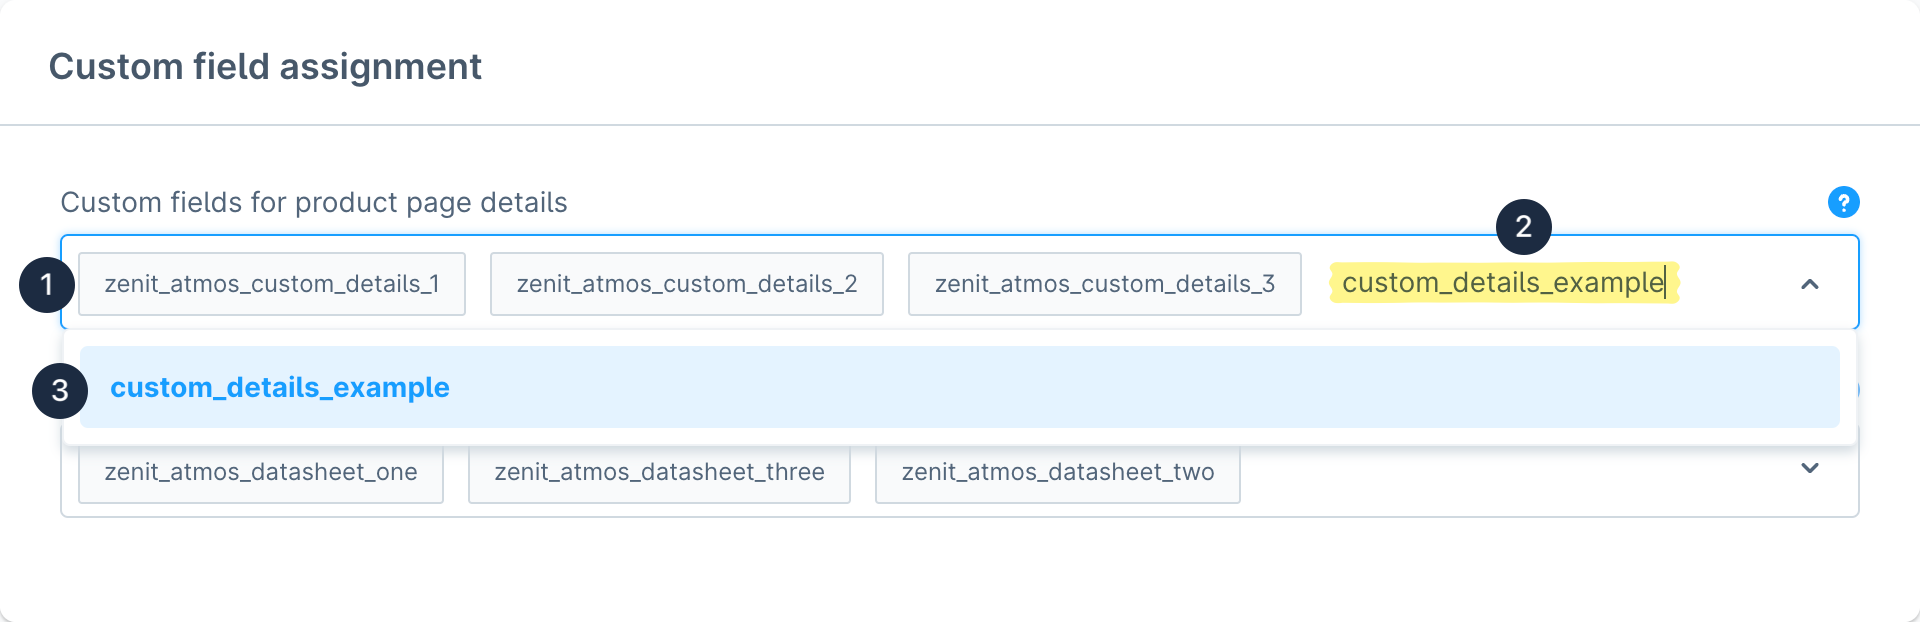
You can access the theme settings via *Extensions > My Extensions > Tab: Themes > \[Select theme] > Configure*. In the **Custom fields for product page details (1)** selection you can now **search (2)** for the newly created custom field and **select (3)** it.
{% endstep %}
{% step %}
### Create content
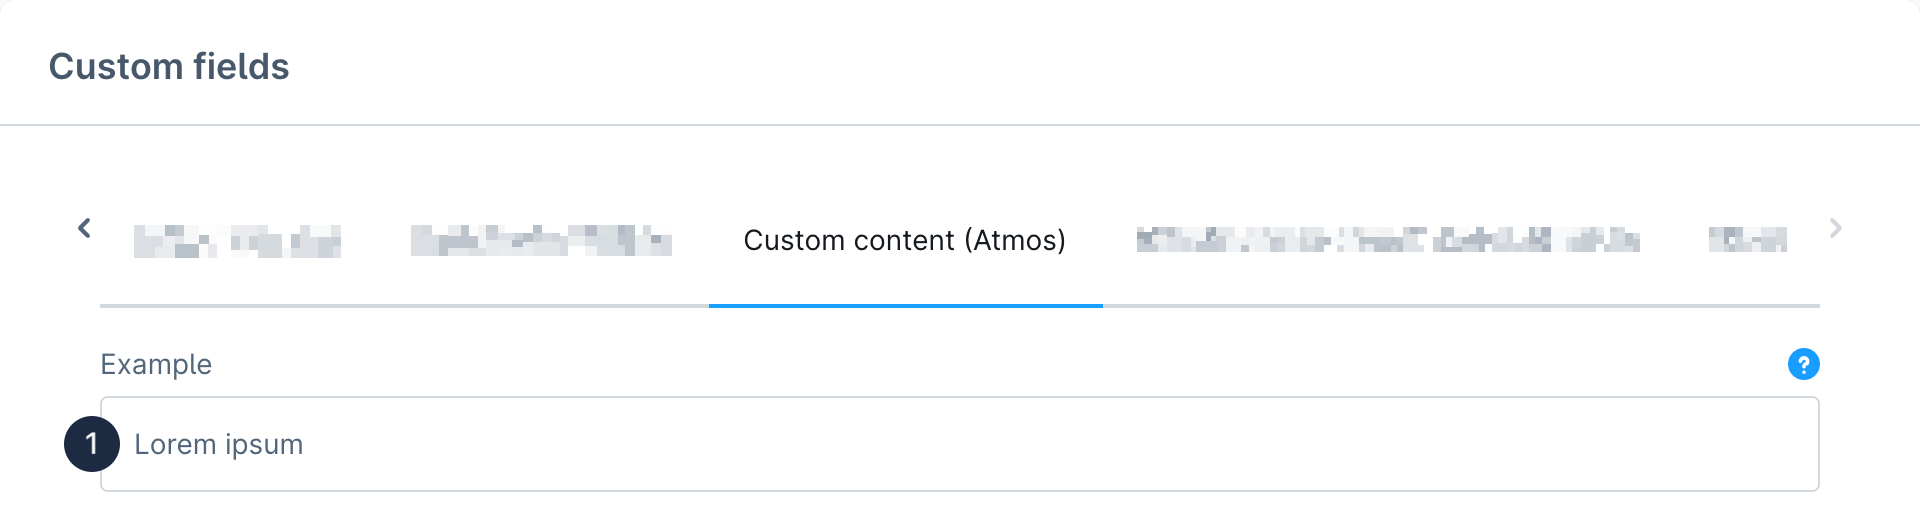
In order for the custom field to be visible in the storefront, you must enter content for the respective product. Under *Catalogues > Products > \[Select product] > in the tab: Specifications* you will find the custom fields at the very bottom. Select the set in which the custom field was created and enter a value (1).
{% endstep %}
{% endstepper %}